
Continued from Part 1.
After getting the Space Stations assembled and primed, it was time to get started on the Shipyard.
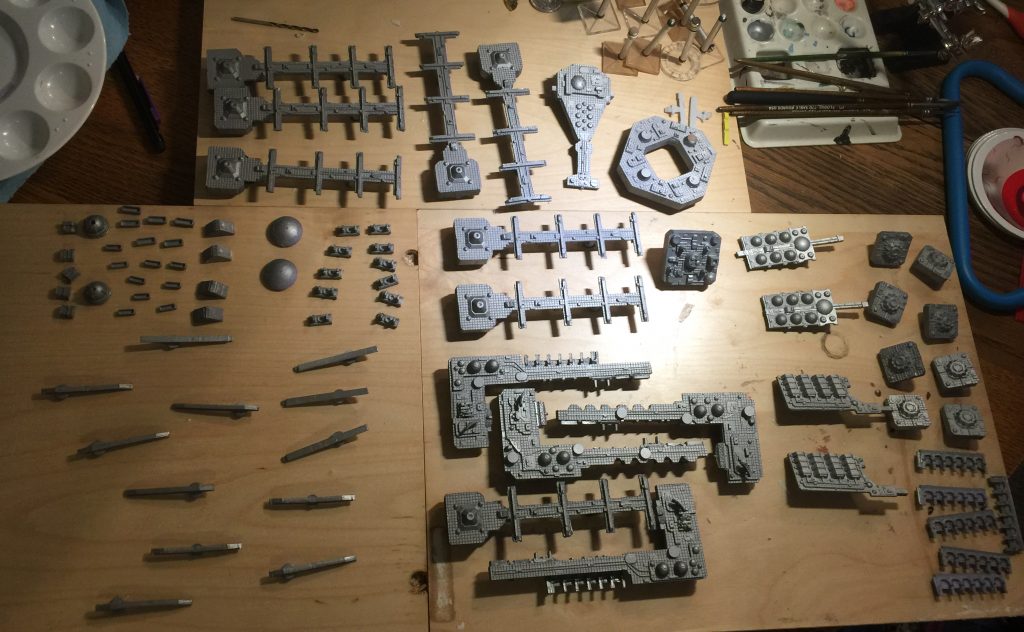
All the larger pieces:

All the smaller pieces:

Everything out on the table

I knew that I wanted to be able to move the cranes around and not have them glued in place, so I put down some rare earth magnets of appropriate size onto the mount points on the arms. I used self sticking ones, but the glue turned out not to be strong enough in some cases and I ended up super gluing them back on later

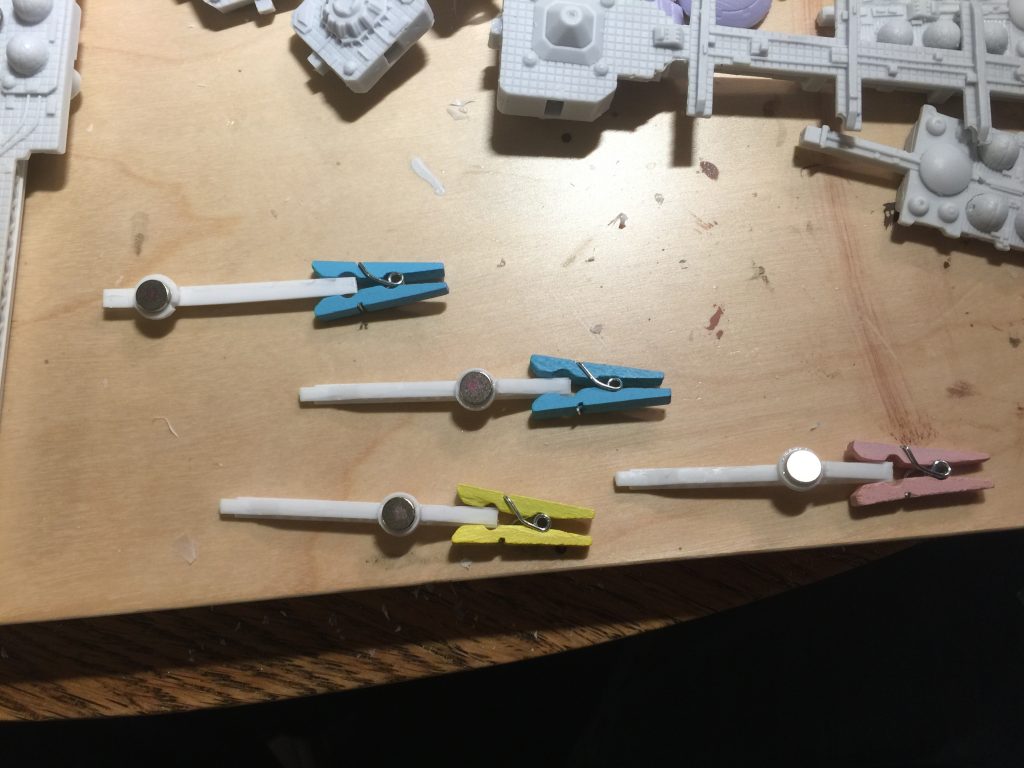
A couple of the cranes with one of the earth magnets that I glued to it. I had to be careful to glue the magnet on the correct way around so it would be attracted to the magnets on the arms and not repel. In hindsight, I should have just used a washer, having two earth magnets sticking together was way more sticking force than was needed, and actually pulled of some of the stick on magnets.

Cheap little crafting clothspins from the dollar store made decent little clamps to keep the cranes upright while the glue on the magnets was drying.
The cranes attached to the arms. Also put a magnet on the central hub. I did use washers instead of magnets on the small domes.

Glued on the docking bays to the arms

A couple of the small pieces on a sprue, and you can see where I glued on the docking ports onto the arms.

Another view of the arms with the docking port and the magnets attached.

Some of the landing bay doors still on a sprue. They came in two sizes and can really be attached in all sorts of locations.

Many of the larger parts had a slot and tab configuration, which I decided I was also going to replace with small magnets. I thought they would work better, as the tabs and slots didn’t fit together particularly well, and I felt magnets would give me more options.
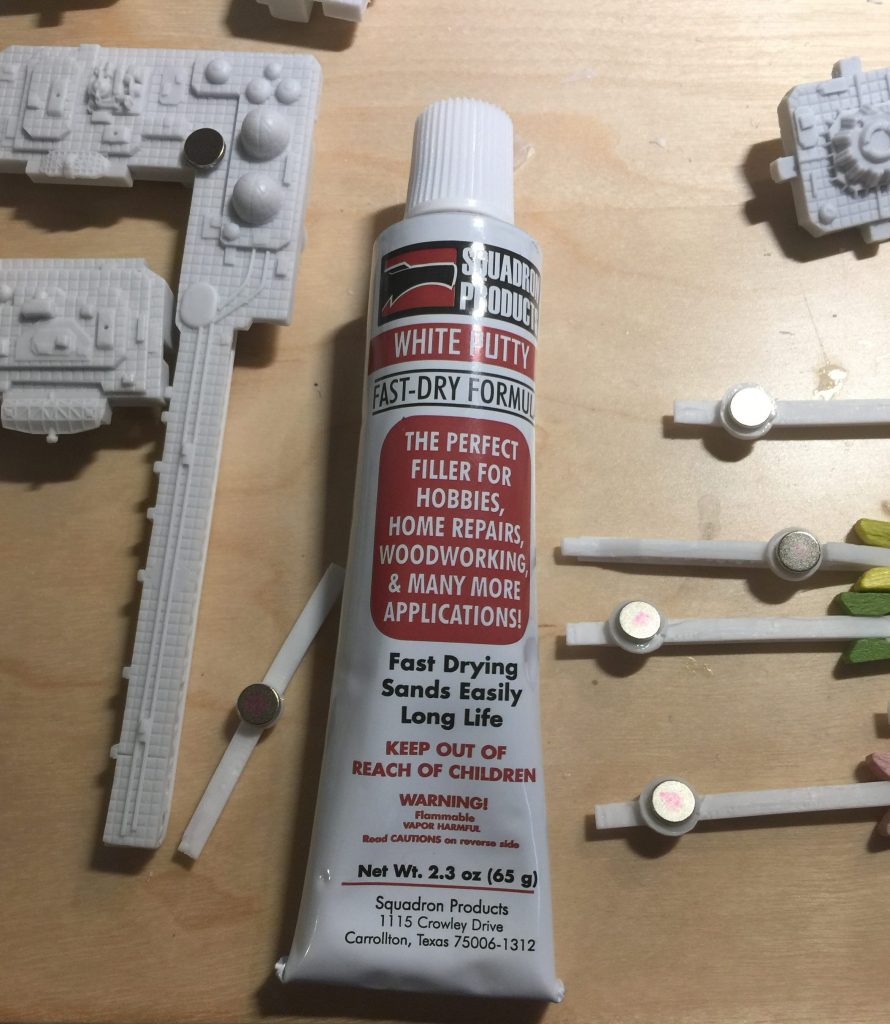
I decided to use White Putty to fill in the slots.
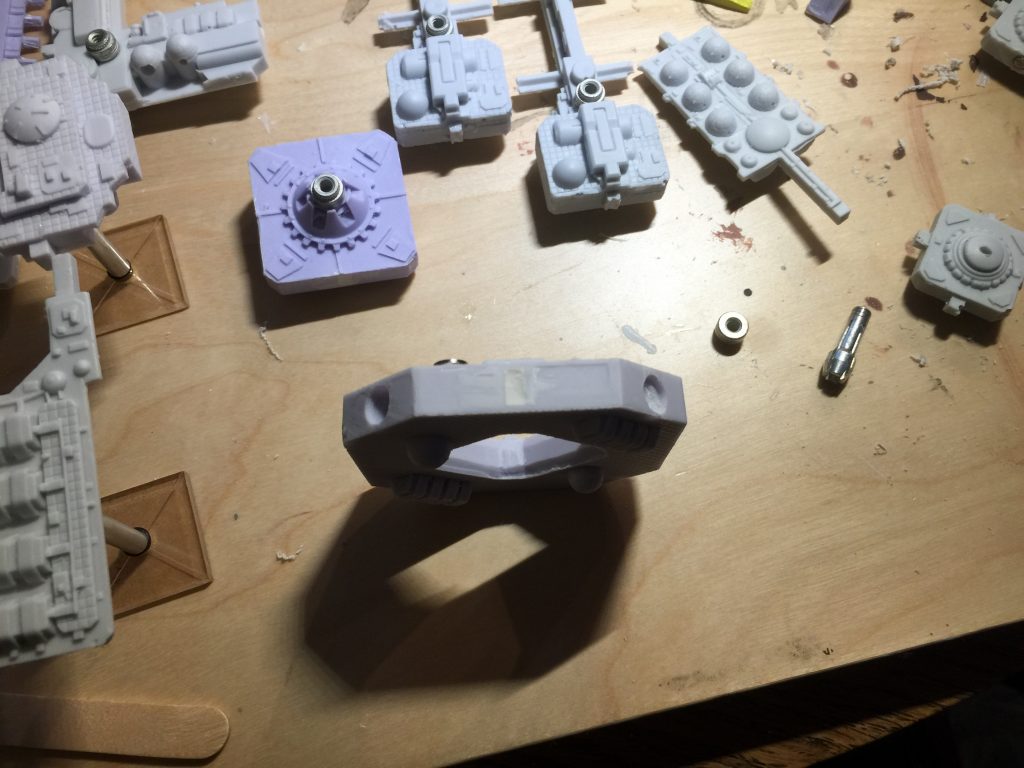
Here is a shot of the main hub with the first batch of putty put in.

I then drilled/dremelled out a hole big enough for a larger earth magnet. Turned out to be big enough that I shouldn’t have bothered filling in the slot first.
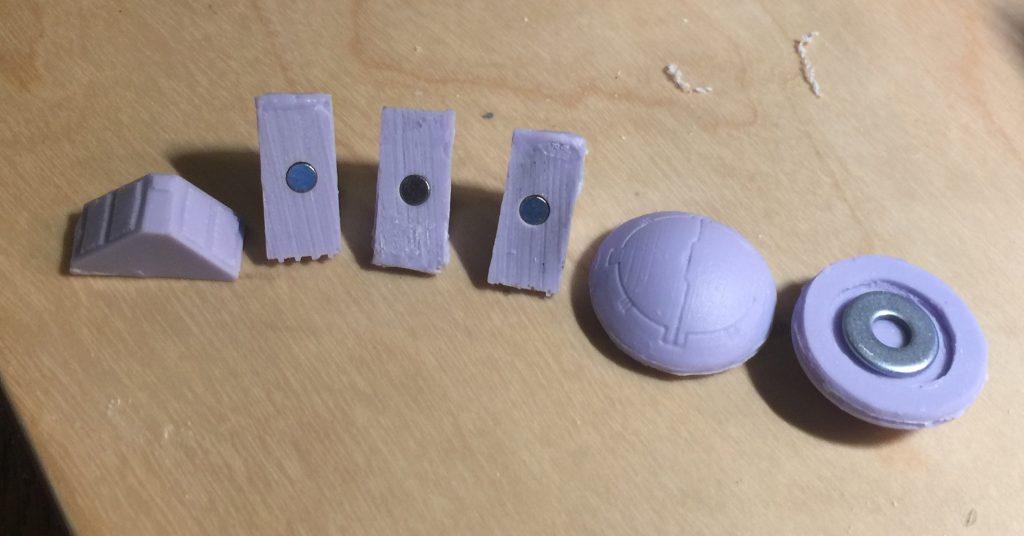
You can also see that I had glued on some Corsec mounts on some of the other pieces at this point, and had clipped the tabs and filled in the slots on the medium sized purple hub.

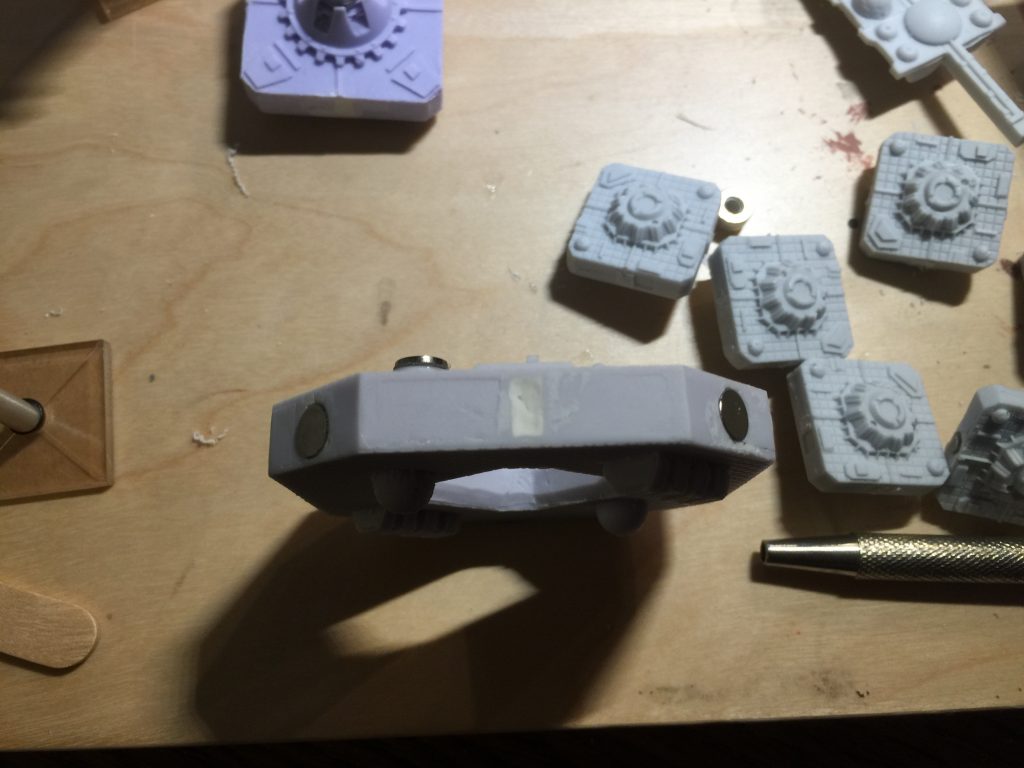
Another shot showing the filled in and sanded slot on one side and the holes made on two of the short sides.
Magnet now glued into one of the holes.

Another view showing two of the magnets. Getting them flush was a little challenging. Had to test fit a few times when drilling. If I drilled too far, I then basically ended it floating the magnet on a layer of glue, pushed it in with a Popsicle stick and wiped off any glue that oozed out. Also, I was careful to make sure the poles of the magnets were consistent in which side was pointed out. I had a stack of them stuck together and I marked the same side on each with a Sharpie.
One of the first attempts at putting a small magnet into one of the small hubs. They got neater as I went along, but a little filing cleaned this one up nicely too.
I did have to be careful to align the poles of the magnets the way I wanted, so South was to the inside on one side and to the outside on the opposite side, that way I would be able to stick several of the hubs together in a chain.

Some small magnets on some of the smaller parts, much neater by this point. Also being careful to align the poles of the magnets so they would attract and not repel to the magnets on the big hup. I drilled out the domes a little and went with washers for them instead of magnets.
A shot of some of the parts on stands

Testing the stands and some of the magnets

For the extra docking ports and landing bays, I cut out some adhesive magnets and stuck them to the backs. The glue ended up not being strong enough and I’ve had to go back and super glue most of them. These could then be stuck onto any of the exposed sides of the hubs if wanted.

The small hubs with the tabs cut off and holes drilled

The small hubs with the magnets glued in.

The magnets in the hubs are actually strong enough that I can bridge several of them across without needing to have a stand.

Demonstrating some of the docking ports and landing bays stuck onto the exposed sides of the hubs with the magnets

I then hauled the whole pile of parts outside and primed them with the Platemail primer, then brought them back in.

Everything for the Shipyard laid out.
Pingback: Ravenstar Space Stations and Shipyards part 1 – Brent's Basement
Pingback: Ravenstar Space Stations and Shipyards part 3 – Brent's Basement